I am going to chat today about how to style a shelf in three easy steps. Open shelving in a kitchen is amazing but unfortunately I don’t really have the space for it. I decided to show you how I styled my open shelving in my vintage Hoosier cabinet.
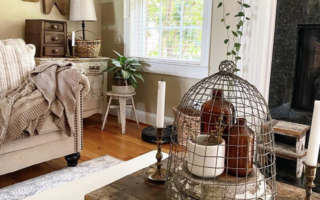
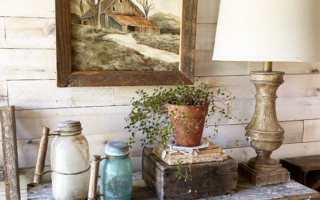
My Hoosier cabinet is in my dining room and I love styling it seasonally. I thought it would be fun to talk about this area specifically because I know not everyone has open shelving but they may have a fun cabinet with shelving.
Step One Use Your Collections to Style Your Shelf
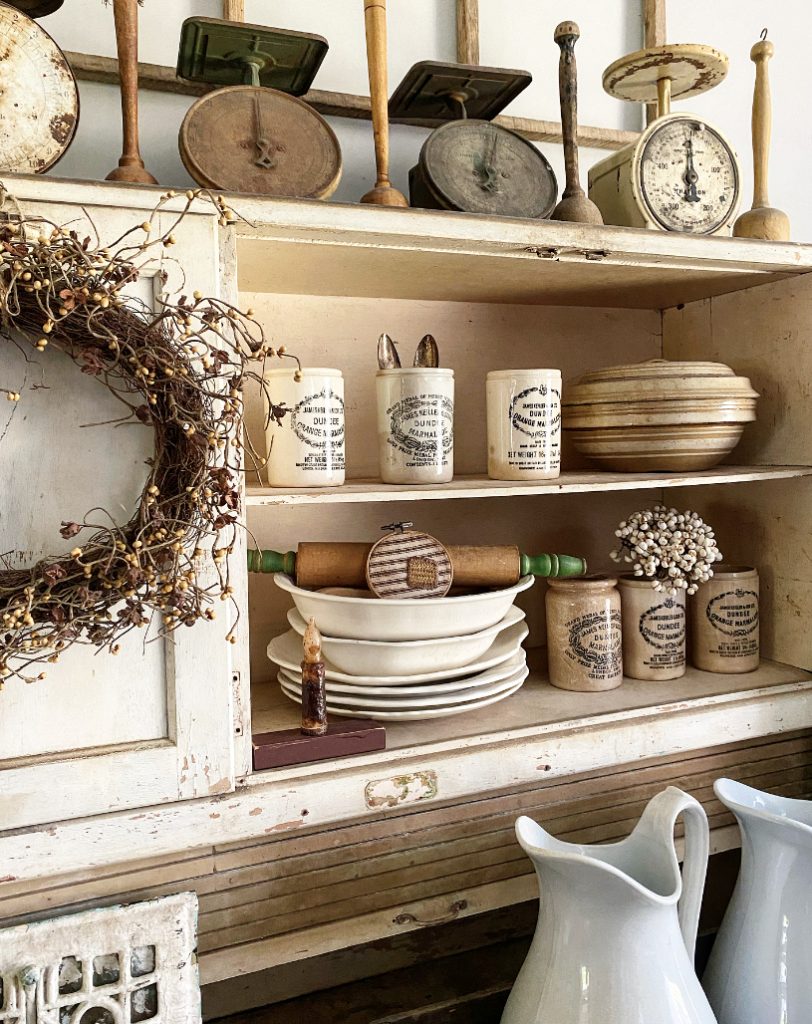
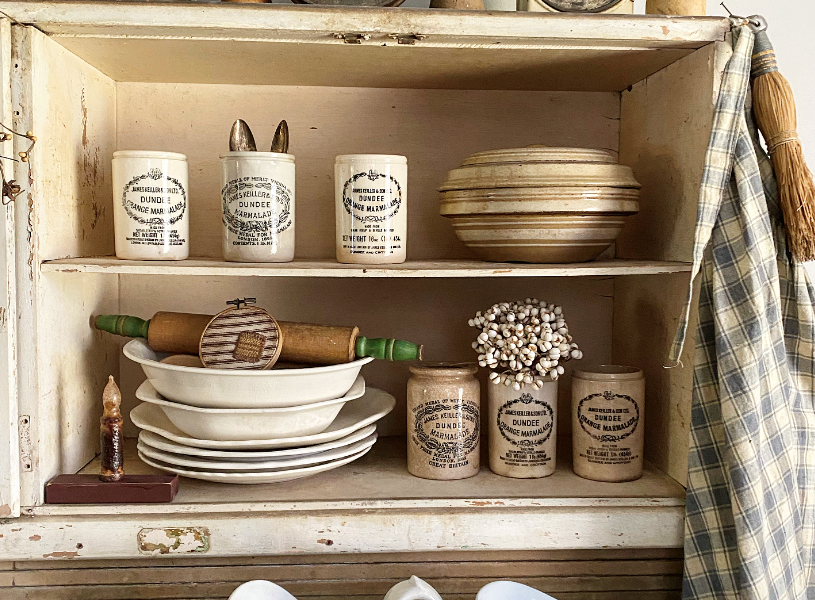
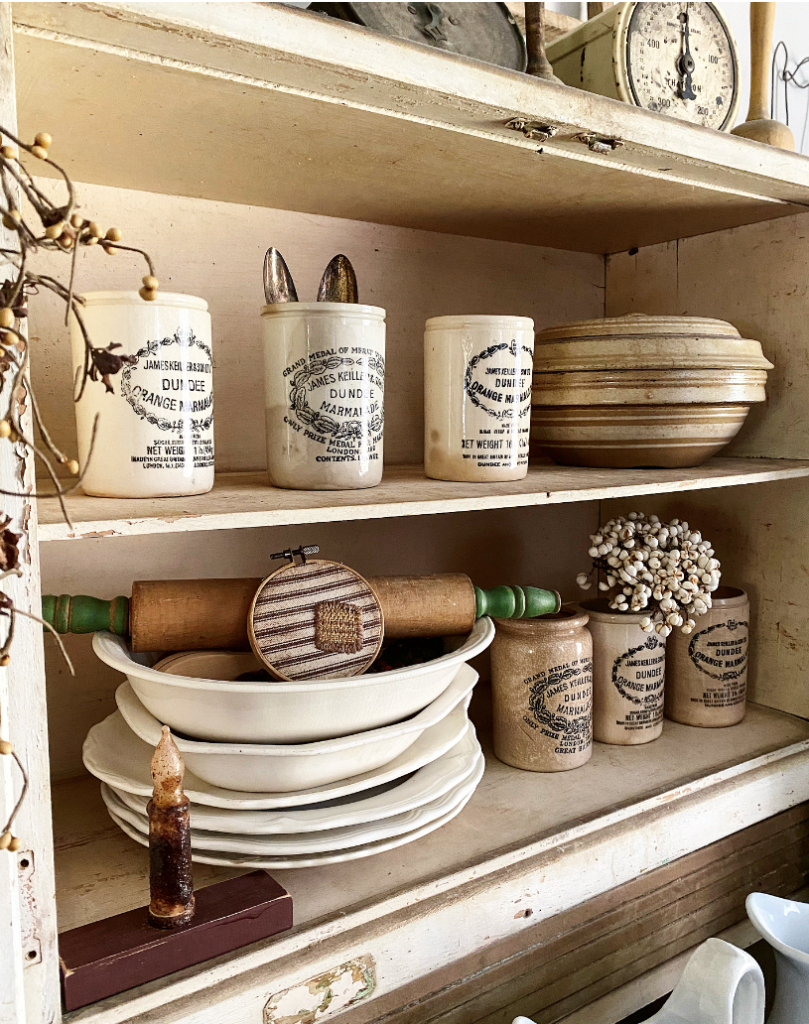
Collections are great for open shelving. This is the perfect opportunity to showcase some of your favorite things grouped together to make a bigger impact. I have my vintage Dundee marmalade jars grouped in threes. You know I love to group things in odd numbers and I find three is the perfect amount. Vintage ironstone is stacked in a grouping to add a bit of interest and contrast. Old rusty scales are grouped on the top of the cabinet intermixed with my vintage masher collection.
Step Two Contrast is Your Friend
I know you have heard me speak about contrast before and how much of a difference it makes in making things cozy. When you have a light colored cabinet or background try looking at using a few darker items to stand out and vice versa. Ironstone looks amazing with a darker background or on a darker shelf.
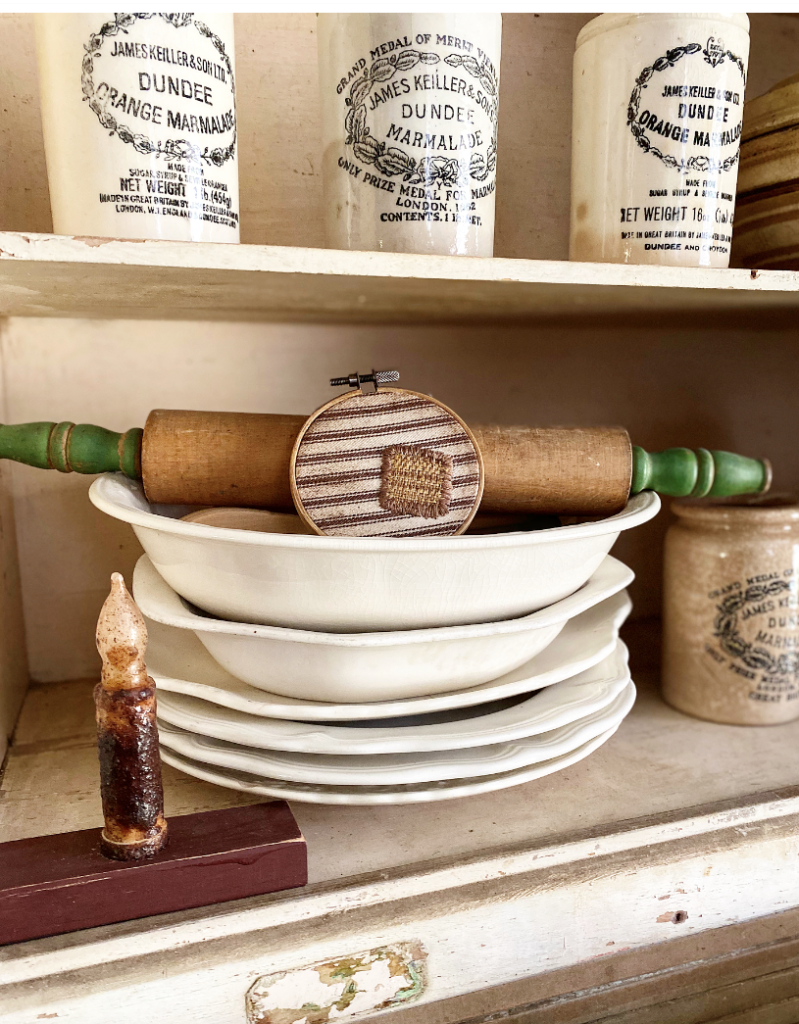
Contrasting items grouped together also makes things interesting. Different sizes and shapes mixed together are also fun. In these shelves I don’t necessarily have contrasting colors but I do have different sizes and shapes. I added in my favorite vintage yellow ware bowl with a lid with my smaller marmalade jars. The ironstone is taller than my marmalade jars. Just a tip I like to share is try to make your opposite ends symmetrical. Do you see how I have the marmalade jars opposite each other on the two shelves, and how I have the bowls also opposite each other to add balance.
Step Three is All About The Details
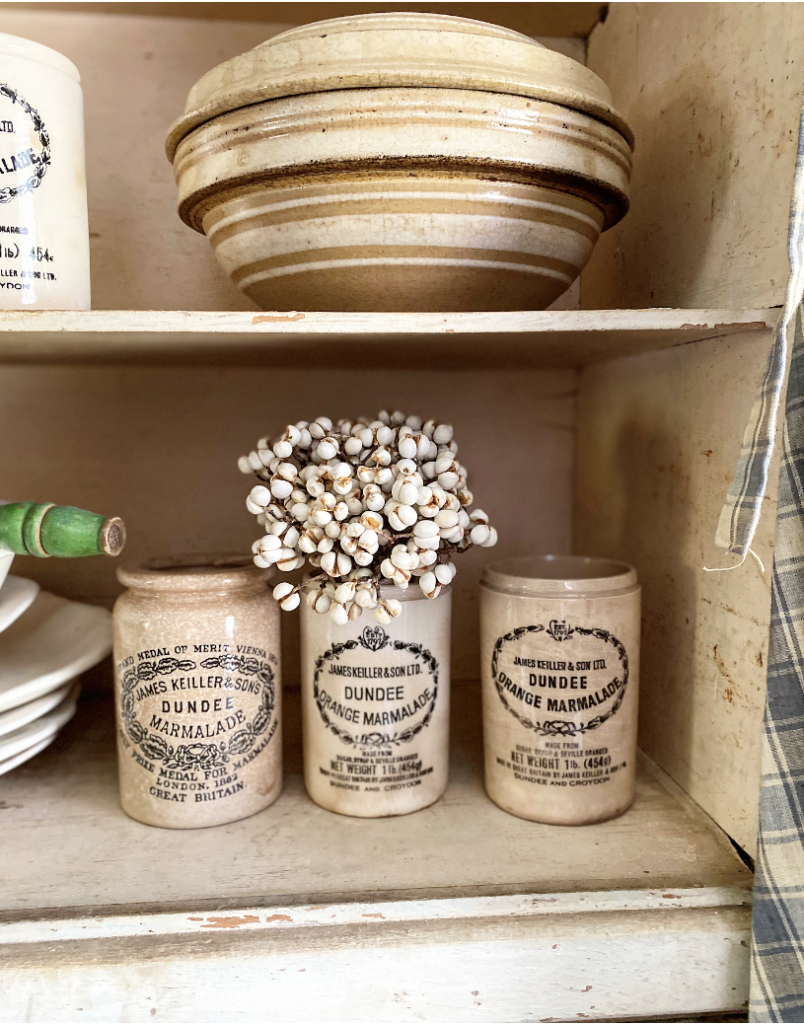
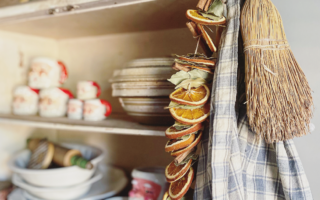
Finally it is all about the small details that you add into the groupings. This could be greenery or a battery operated candle like I have is my shelves. The white tallow berries add an interesting element to the marmalade jars. There are old tarnished silverware in the other jar just to add a bit of whimsey. Small details add character to a shelf. The cute primitive hoop art made by a friend leaning adds some color to the neutral palette. The fun pop of green on the vintage rolling pin also adds interest to the shelves. I tried to use items that you would have seen in a kitchen or dining space to make it a little more realistic.
In the end I love how it all came together. This is by far my favorite cabinet to decorate. I hope these tips inspire you to decorate your favorite open shelving! I truly hope you enjoyed my how to style a shelf in three easy steps.