
I love using rusty old toolboxes in my decor but they can be hard to decorate. I am sharing my ideas on how to create a toolbox centerpiece.
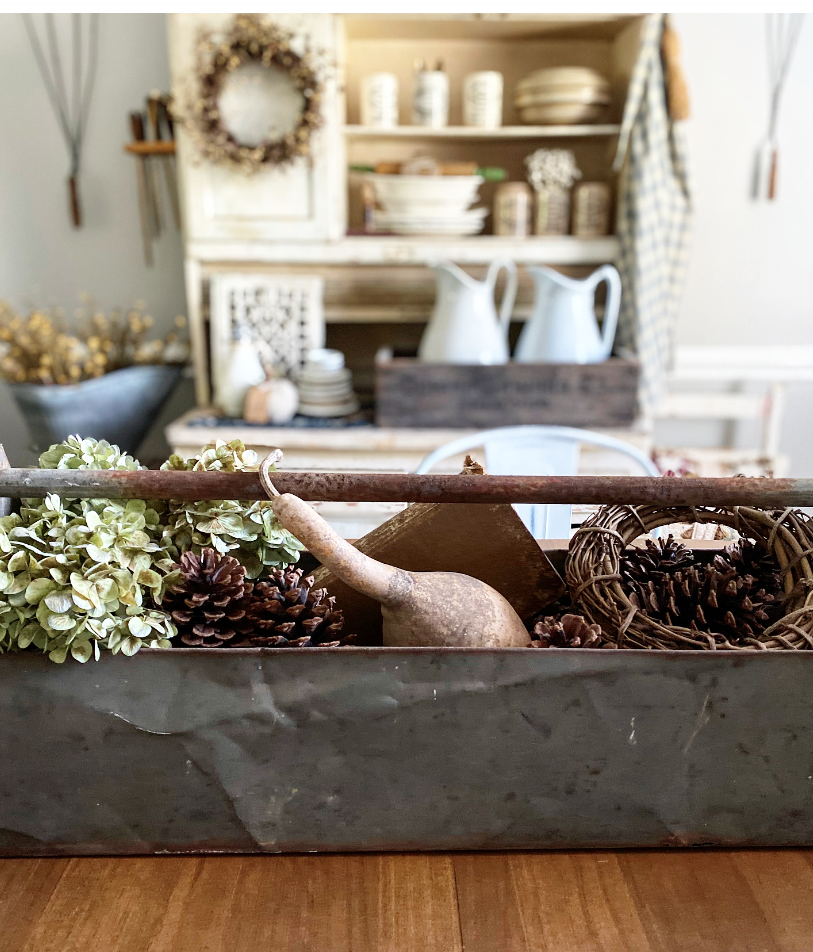
Do you ever see a rusty toolbox or a wood toolbox at your thrift shop and wonder what to do with it? I love making a toolbox centerpiece for my table. Well I found this big old rusty toolbox at a yard sale for wait for it…only 5 dollars! It is very heavy and perfectly imperfect and I instantly knew I could make it into something. I wanted to show you how I would use thrifted or free finds to decorate it on the cheap!
Go forging in your yard
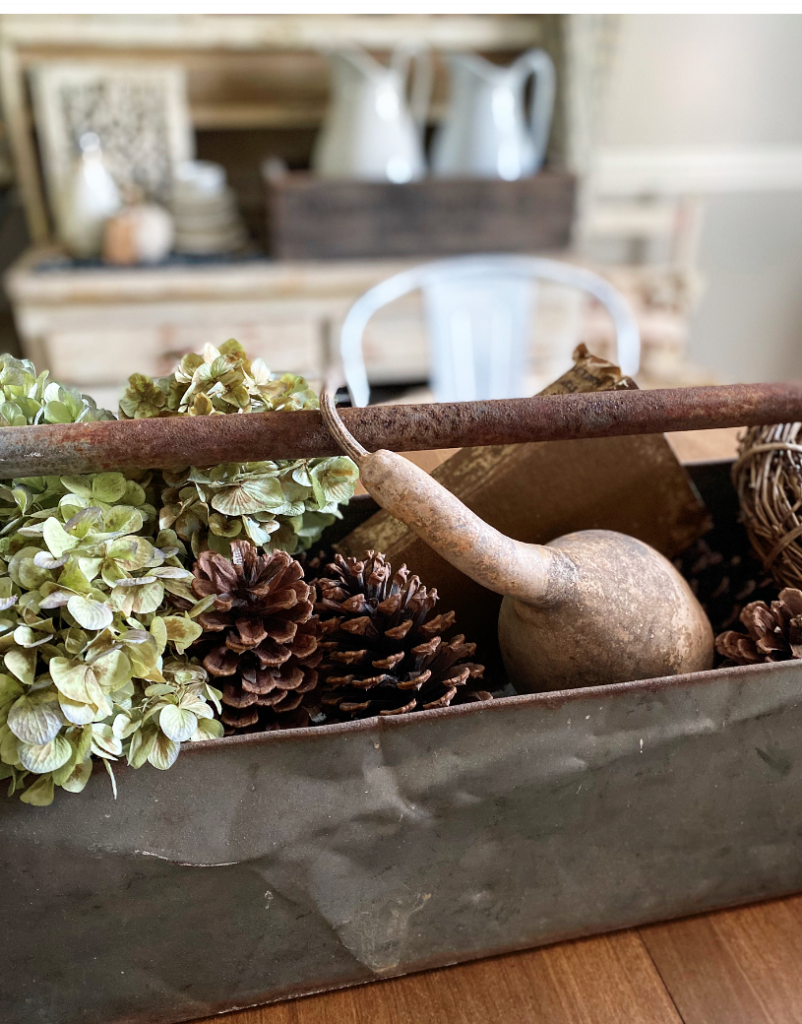
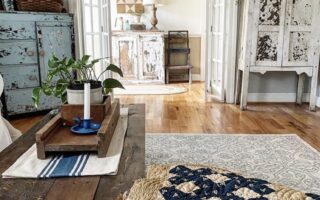
For me I love bringing in a little bit of nature when creating a centerpiece but I don’t always have the time or money to go buy something fresh. So I go out to my yard to see what I can find. I have a few hydrangea bushes that bring me so much joy when they bloom. Of course I cut some stems and dried them out. I also have a ton of pinecones in my yard and have saved them through the years. Pinecones are a great filler piece to add to a big container. I did lay a few plastic bags in the bottom of the toolbox to take up some space so I wouldn’t have to use as many. You could use tree branches, bittersweet, rosehips or any other thing that you find beautiful in your yard.
Go on a Treasure Hunt
I bet you are wondering what in the world I am talking about. Go look around your amazing vintage finds or any of your thrifted decor finds to see what might work with what natural items you have collected. For me I wanted to use only a few items that would bring in a different texture like a vintage tattered book and my thrifted small grapevine wreath. I already had the gourd which I still consider a natural element so just adding in the book gave it a vintage feel.
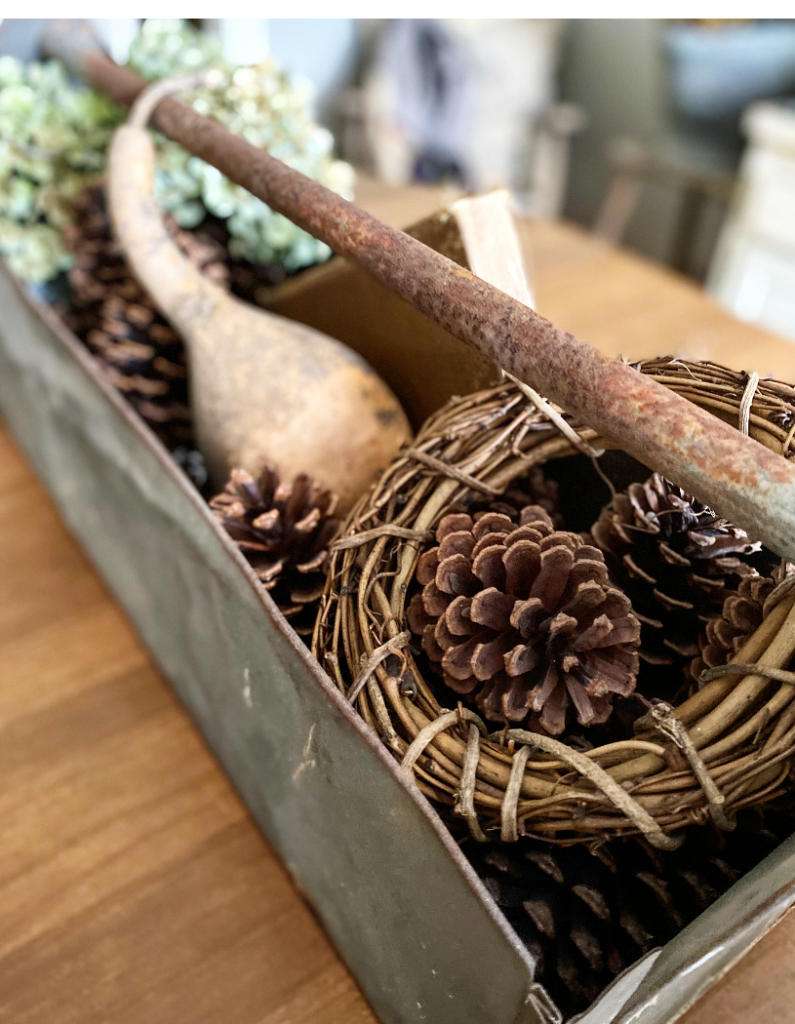
Smaller vintage items worked better in this piece because I wanted the natural elements to be the star of the show. The vintage piece was a great supporting actor. I know that might sound funny but that is how I sometimes think of putting things together. Somethings are meant to be the focal point while others are there to be the background.
Where to Put it All
This is the fun part. It can take a few tries and believe me I spent more than a few minutes arranging all the items. Trial and error is the name of the game. I am a visual person so I have to try something a certain way to see if it looks good to me. I had a cutting board in the tool box too but after moving it around and not loving it as much I decided to take it out.
You also might not love all the items you start with and decide something else would look better. That is the fun part to me of putting together a centerpiece. It is all about what you love and what elements fit together to make you happy. So have fun with it and I promise you will end up with something great in the end. Sometimes if it isn’t working for you take a break and then come back to it. This helps and I have had to do this on several occasions. I hope these ideas inspire you to get out an old toolbox and see what cute centerpiece you can come up with.
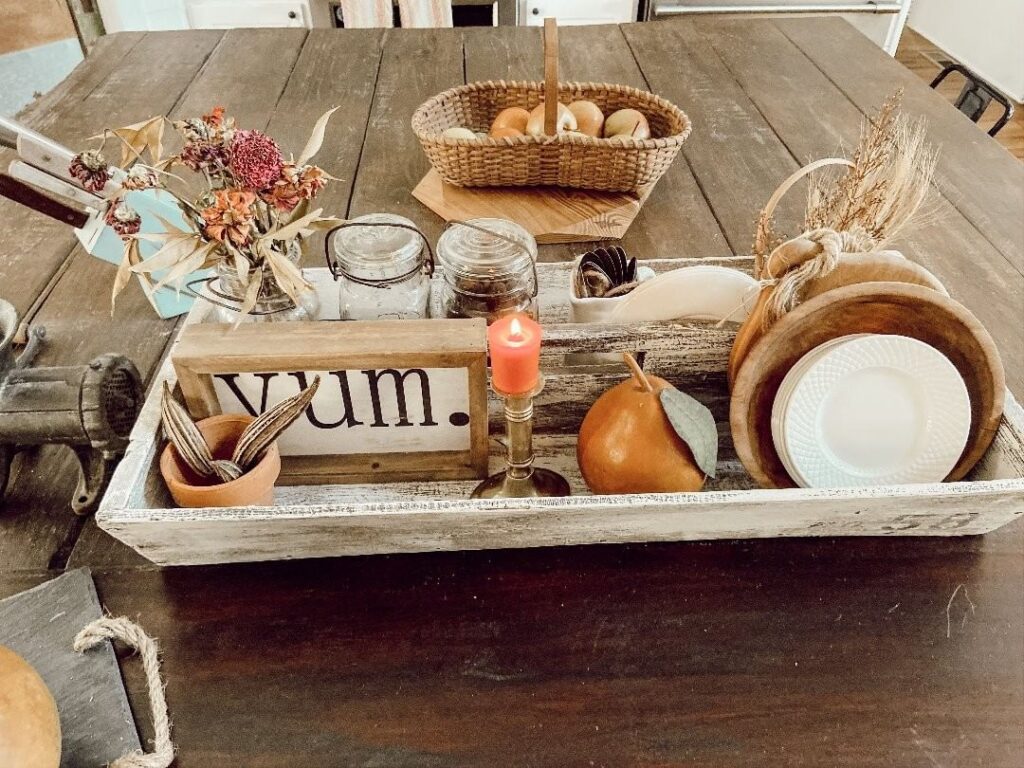
Be sure to head over to my friend Rachel’s blog The Pond’s Farmhouse to see her amazing toolbox ideas!!

Amy,
I love how you styled your cute tool box! Thanks so much for inviting me to join you!
Rachel
Thank you Rachel! I am so glad you agreed!