Are you wanting to makeover a piece that isn’t your style? I am going to show you how to paint and distress wood so you can have fun with your project.
I love distressed or what I call chippy pieces. It is not always easy to find them at a reasonable price though. So that prompts me to always look for pieces that I can paint and distress to look like that. Primitive style pieces are my favorite. With that being said I look for wood pieces that have the structure or usability that I like and then I can always make them look cute to fit my style. I am going to show you how to paint and distress a wood with chalk paint.
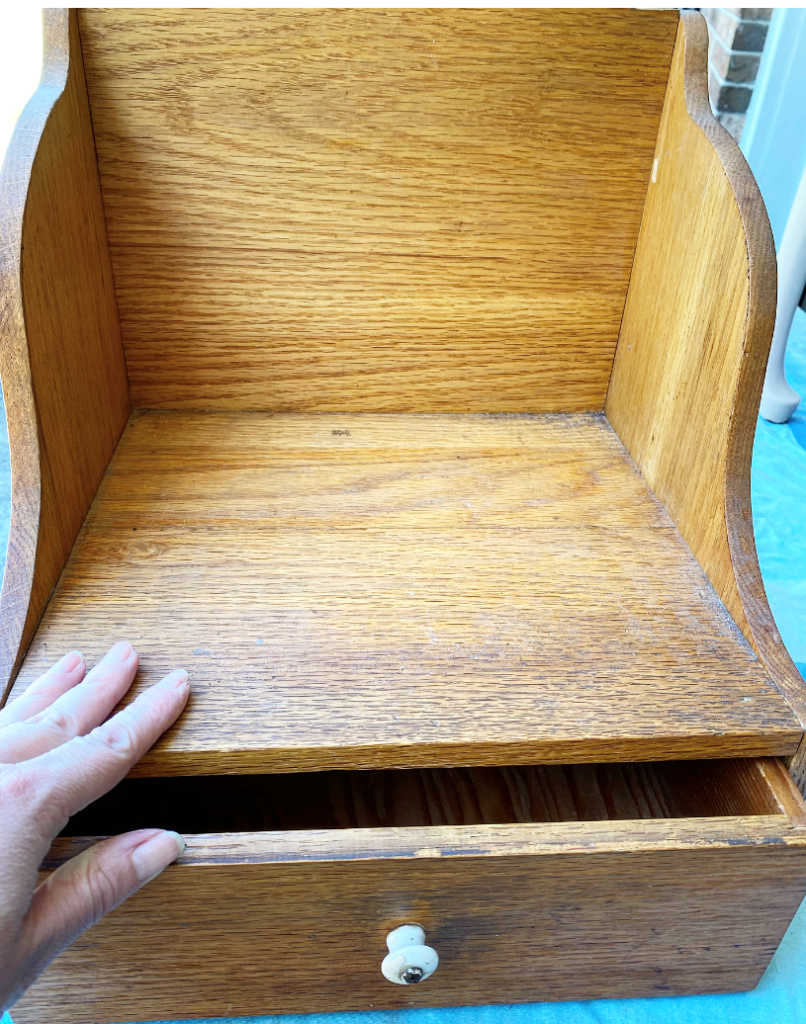
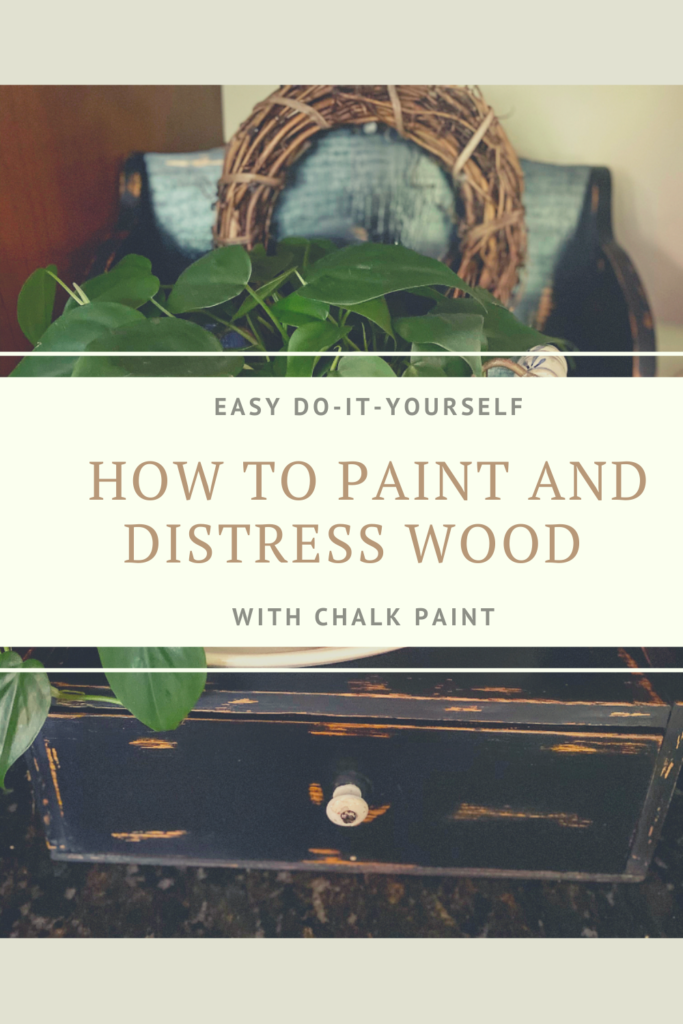
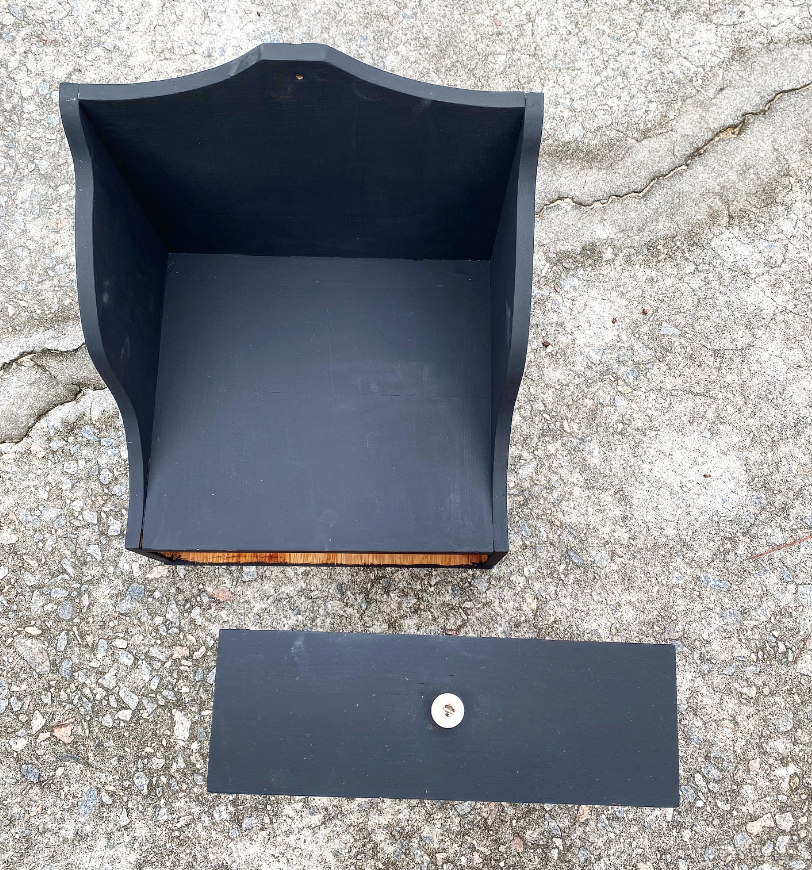
This piece had me at hello. I loved the structure and that little knob just sealed the deal. The piece was at my local thrift store for only ten dollars! It was also a pretty sturdy piece because it was heavy. The color was not what I wanted for my kitchen which is where I was going to use it. I love using black accents since I have darker granite and cabinets. I knew instantly that painting it black would be perfect and of course the cute knob would stand out even more.
How to Prepare Your Piece to Paint
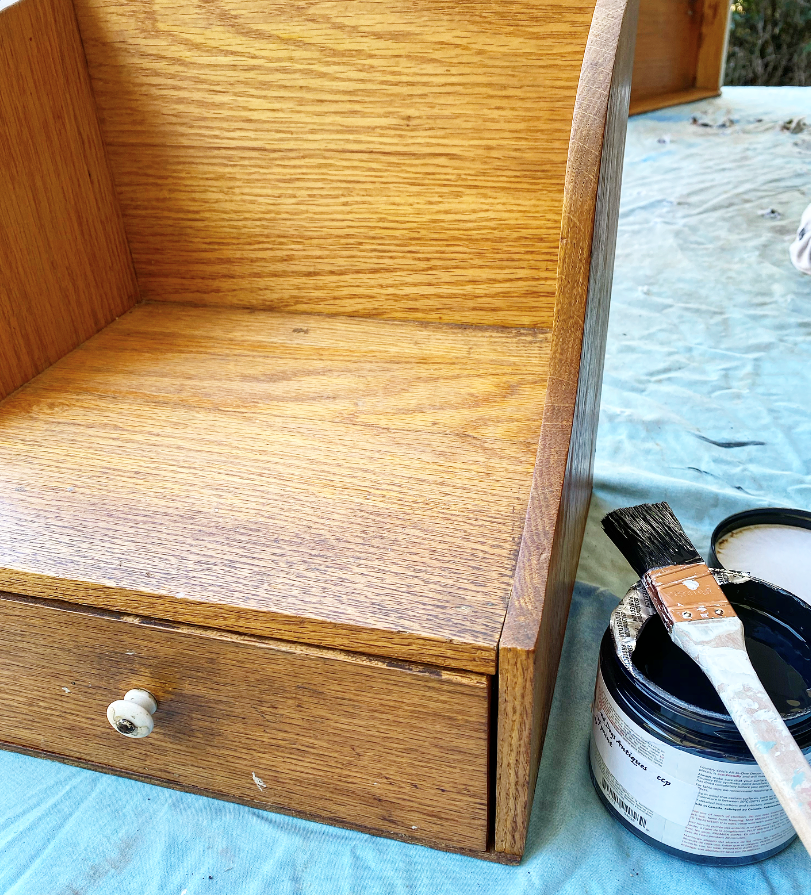
I took a damp rag and wiped the piece off. It had been dusty because it had sat at the thrift store. Then I gathered my supplies which would consist of black chalk paint which I bought at my local antique shop, a paint brush, and sandpaper. I put an old drop cloth down to protect the surface and began to paint the first coat.
How to Paint Wood with Chalk Paint
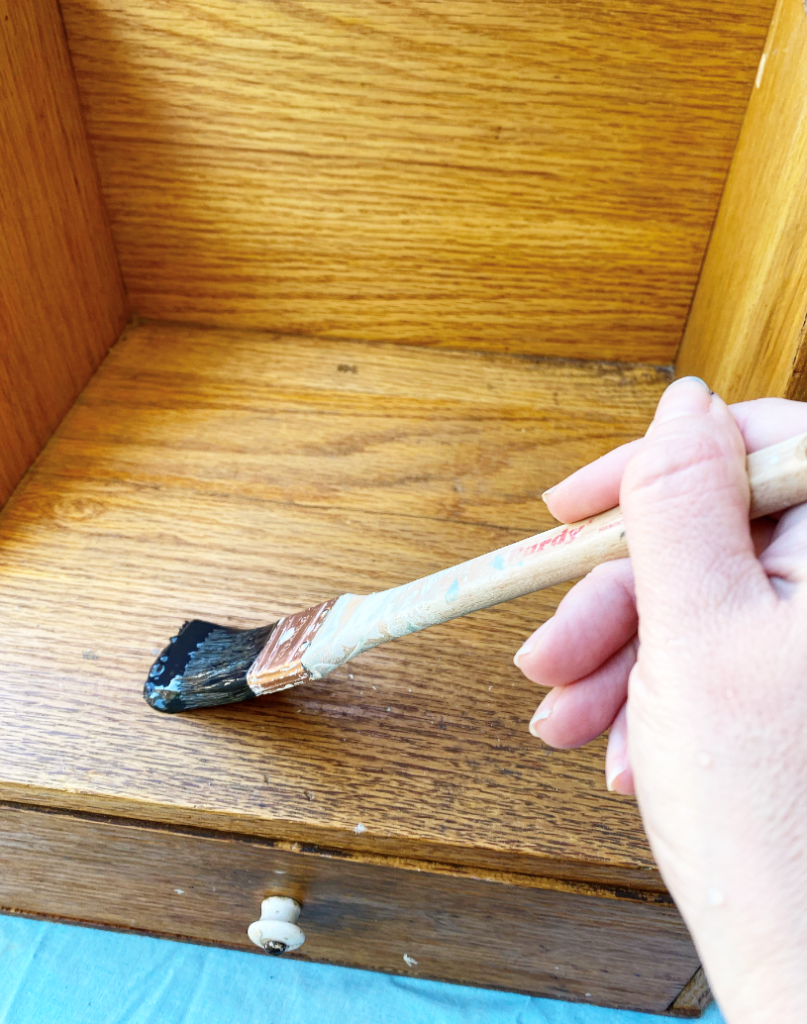
This piece was very easy to paint and I just started in the back and moved to the front. I took the drawer out and only painted the front and edges of the drawer. Since the inside of the drawer would not be seen much I decided not to paint it. If the knob of a drawer is able to be removed go ahead and do that. This one was not, so I painted carefully around it. Let the first coat dry and then do another one. Two coats were plenty on this piece.
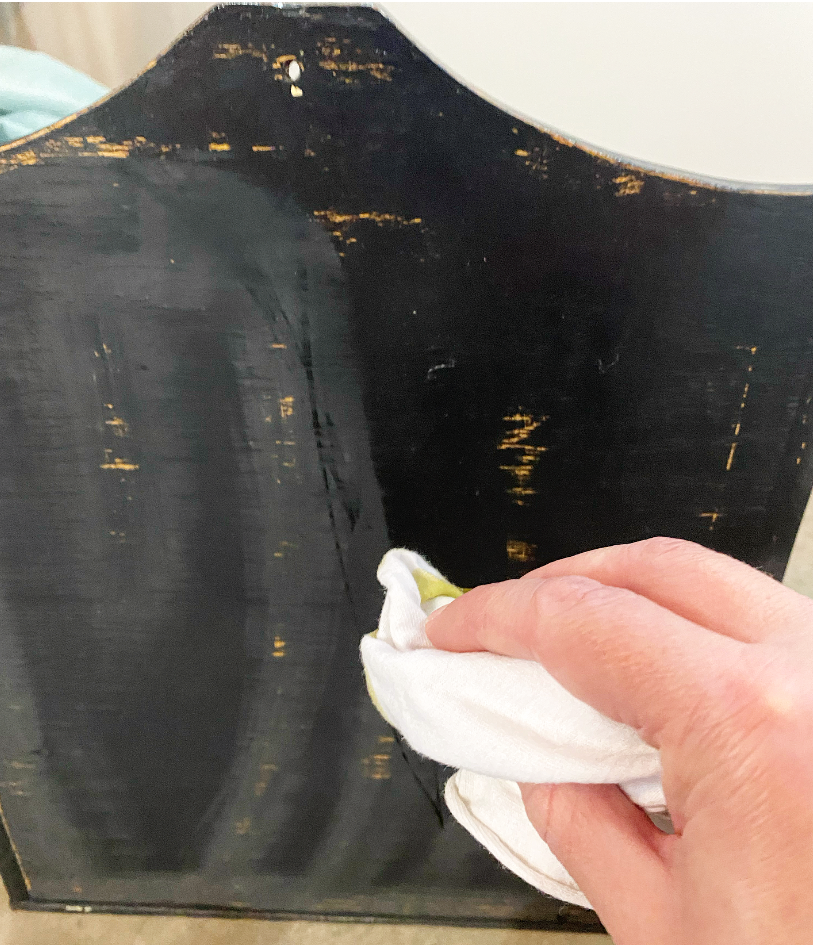
How to Distress Wood

After the second coat has dried completely grab some 220 grit sandpaper and start sanding in areas that you want to look distressed. Start lightly sanding until you see the wood and you like the look. I tend to like a lot of distressing but you may prefer less. The black chalk paint when distressed tended to look very smeary. I am going to tell you how to remedy that later so don’t worry about that. The edges are a great place to start because that looks more naturally worn. The area around the knob and on the drawer are also great places to distress because it would wear naturally as well. This process can be very messy so beware. It gets dusty and you can get the paint dust on clothes and your face.
My Secret Weapon to Finish the Product
I wipe down the distressed product to get all the dust off. Then I grab a rag and my new secret weapon when using chalk paint…hemp oil. This is so easy to apply and it helps to cure the paint especially if the piece is going to be used often. I pour a little in a bowl and start wiping the piece down with the oil. I use the rag because it is easier and goes on better. This will take care of the smeared look after you distressed it. It will look shiny but dries more matte. After about 12 hours you can wipe off any excess or add another coat if it is a highly used piece. You can also use a finishing wax with chalk paint. It also has a similar effect on the paint. It cures and protects the piece after it has been painted.
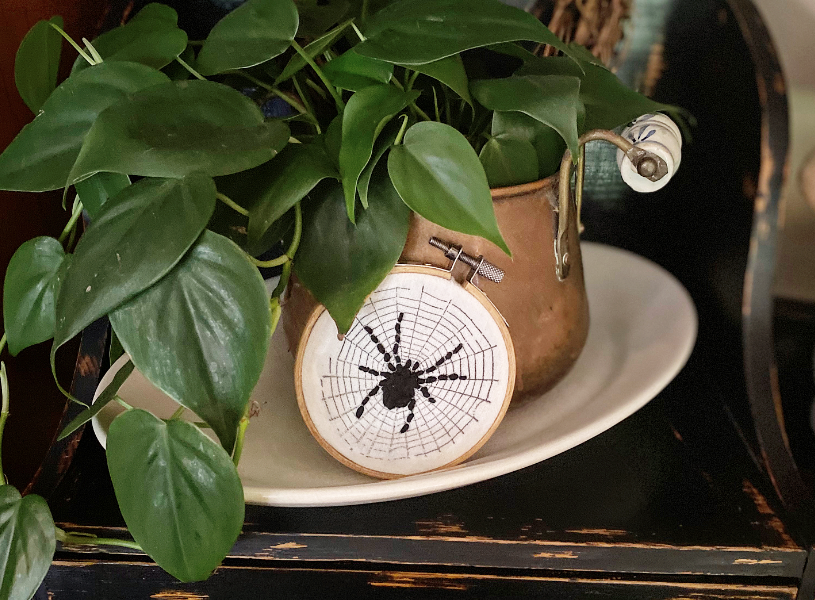
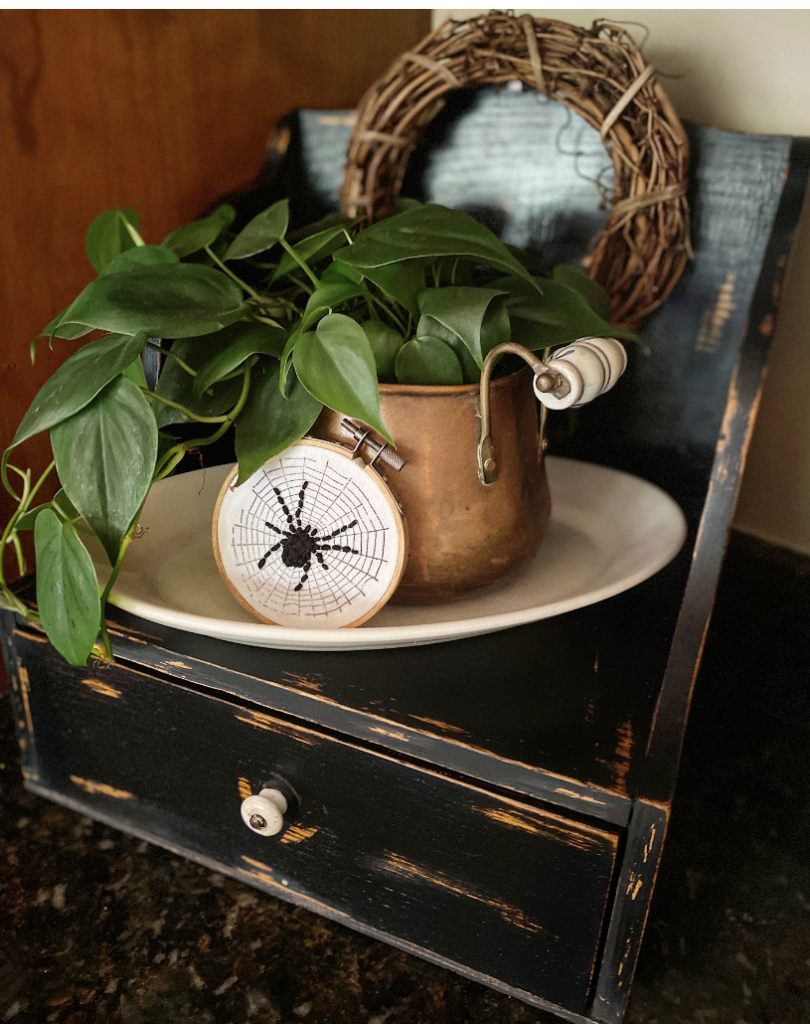
The Finished Piece
I love how it turned out! It fit perfectly in the corner on my kitchen counter. This is a great piece to hide a few things you use on the daily like car keys, phones, or wallets. I decorated it with my thrifted ironstone plate, copper pot, and a cute plant. I even added a cute Halloween touch with my spider hoop made by a sweet follower. This piece happened to have a hole at the top like it had hung on a wall at one time, so I used that to put a nail through it and hung a cute thrifted wreath on it. The piece will be great to decorate each season and the functionality of it is great that is a win win for me. Don’t overlook pieces at the thrift that might not be the exact style or color you want because you can change that with some paint and sandpaper! I hope you enjoyed this project and if you have any questions please leave me a comment.
Pin Now Read Later